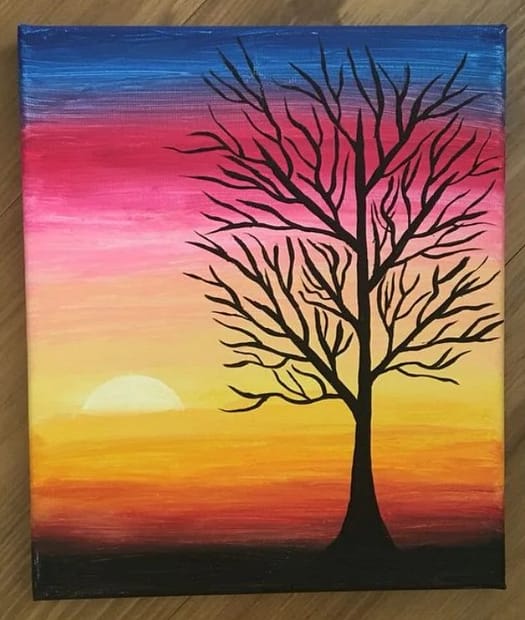
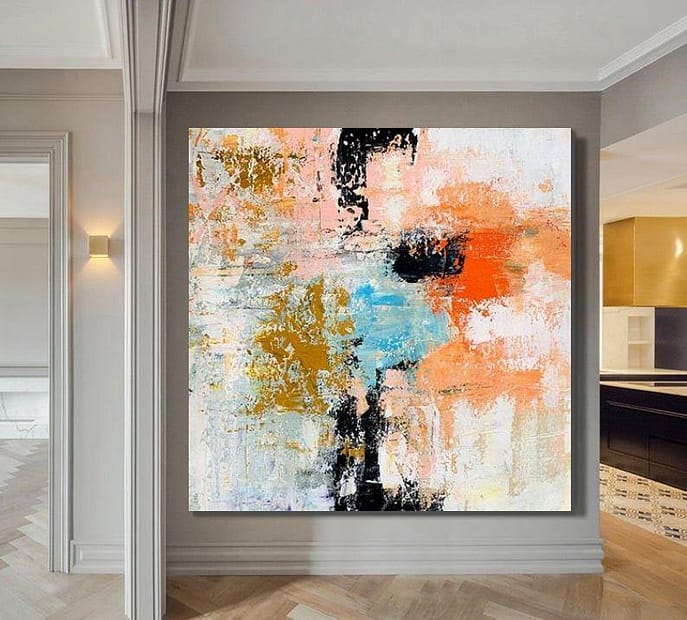
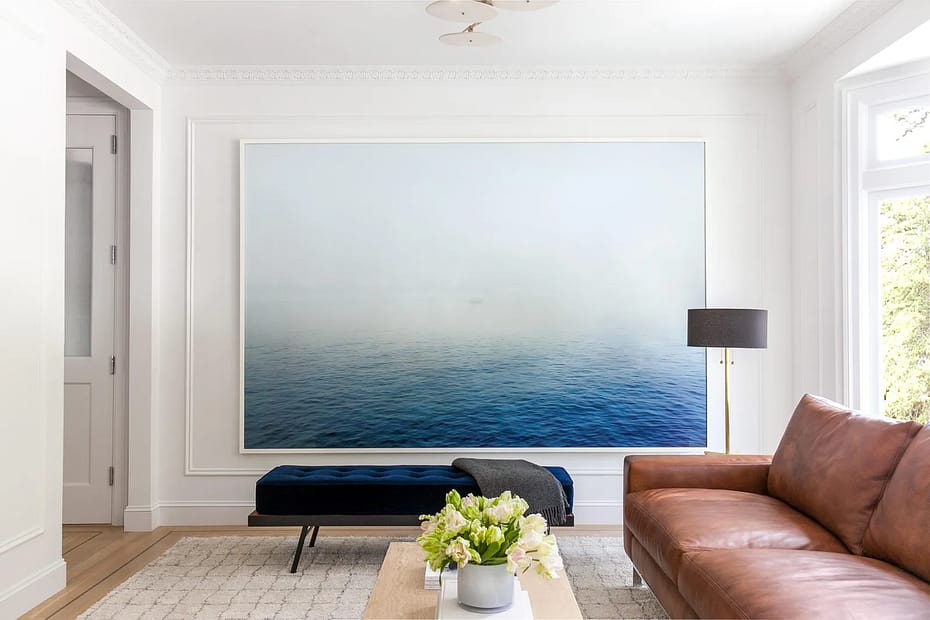
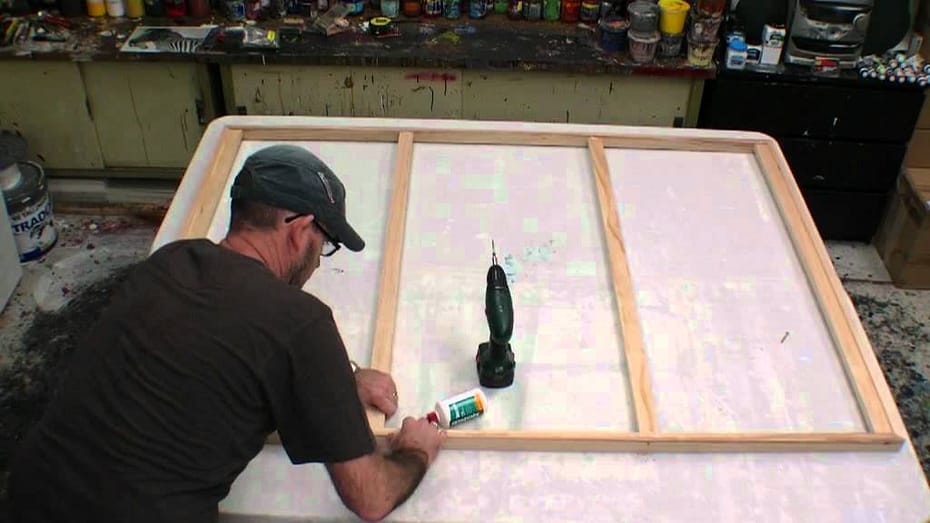
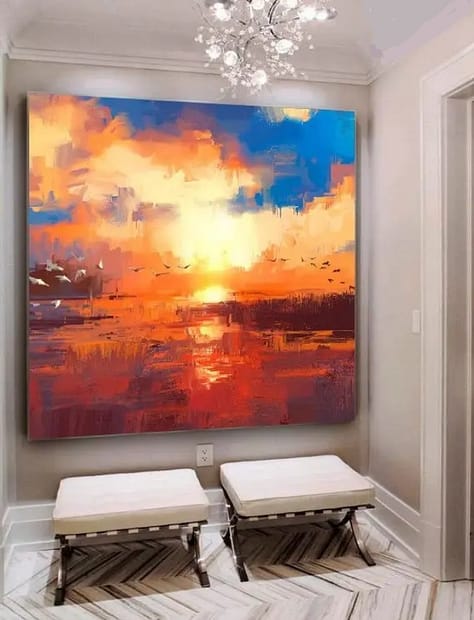
Halloween Spider Ornament
How to Make a Glass Ball Spider Ornament
Even if you don't like spiders, you've got to love this Halloween spider ornament. I mean, just look at this guy! And he is not very hard to make, except attaching all those legs is tricky.You can make this ornament either by painting the inside of the glass ball (which takes at least 24 hours to dry) or by filling the ball with black pompons. Making handmade ornaments is such a fun Halloween arts and crafts project. And I think this Halloween spider ornament is something special. Do give him a try! (For an
orange spider ornament,
see photo near bottom of page.)
Materials
55 mm clear glass ball ornament (approximately 2-1/8 inches from top to bottom, not including the cap)
- The glass ball needs to have a cap like the one shown in the photo to the right. As you can see, the sides of the cap consist of seven "leaves" or flaps, with spaced grooves in between. Be sure you get the right kind. See
Ornament Cap and Spring Wire Design
for more information.
4 black chenille stems ("pipe cleaners") Black acrylic craft paint (or 9-12 black pompons) Orange acrylic craft paint - or orange
opaque paint marker
2 wiggle eyes (I prefer self-adhesive ones.) Glue (if needed to attach wiggle eyes) Ribbon
Instructions
Remove cap from the glass ball.Paint inside of the glass ball using black paint. Click this link for detailed directions on
how to paint inside of glass ornament balls.
- Alternate method: Instead of painting the inside of the ornament, you can fill the glass ball with black pompons as is done when making the
Halloween bat ornament.
If you choose this method to make the Halloween spider ornament, use the eraser end of a pencil to push the black pompons through the hole because the rim around the hole often has sharp edges. Add enough pompons to fill the ball. You will need at least 9-12 one-inch pompons.
When the paint inside the ball is dry (or after you have filled the ball with black pompons), proceed as follows:
LegsTurn the cap upside down. Work each of the four pipe cleaners into slots of the cap so that eight "legs" extend out symmetrically, four on each side. See photos below. - The cap has seven slots. One slot will not have a leg extending from it and will be placed in the very front of the spider when assembled. Because a spider has eight legs, two of the remaining six slots must house two legs each. I use the back two slots for this purpose. (See top two photos below.) However, feel free to arrange the legs some other way if it works better for you. (In fact, I just now noticed I did it a different way myself when I made the finished spider featured in the photos elsewhere on this page!)
|
|
|
|
After you have placed all four pipe cleaners into the slots, put the cap back onto the glass ball. Holding the cap on with one hand, insert the wire into the slot.- The wire is "spring loaded," so this step is not easy. Trying to navigate the wire around the pipe cleaners adds to the difficulty. But IT CAN BE DONE! You will need to press the two prongs together to fit them though the slot. Once inside the ball, the prongs will spring back open and the cap will be secure.
- If you need to raise a few leaves slightly in order to work the pipe cleaners into the slots, do so but be careful not to tear off any of the leaves. After the cap is secured with the wire, gently push the leaves back down.
Whew! Once those legs are attached, the rest is a piece of cake! Now bend the pipe cleaners to look like spider legs. There are several ways you can "style" the legs on the Halloween spider ornament. Two examples are shown in the photos below.
Eyes
Paint two orange circles where you want the eyes to be. These circles need to be larger than the wiggle eyes you will be using. Let dry.
Attach the wiggle eyes to the glass ball inside the orange circles.
Finishing touches Tie a ribbon through the hanger wire. Tie the knot tight so it will not come undone under the weight of the hung ornament.
Variation
Here is the same Halloween spider ornament except in orange instead of black. The instructions are the same except for switching the colors.For the orange spider, I recommend painting the inside of the ornament orange instead of using the alternate method of filling the glass ball with orange pompons. I tried using orange pompons first, but I didn't like the way they looked in the bulb. The outlines of the individual pompons were too obvious. (With black pompons, you can't see the outlines.) So I pulled the pompons back out with tweezers and proceeded with the painting method. For a photo of an orange spider with pompon eyes, see the
Irish spider ornament.
The Halloween spider ornament can be adapted to be a Christmas ornament! Click photo or link for instructions to make
Christmas spider ornaments.
And here is yet another fabulous spider ornament, the versatile
garden spider ornament.
To store your Halloween spider ornament, try recycling a plastic container from the salad bar to use as an
ornament storage box.
For more Halloween projects and other great ornaments to make, see
Halloween Arts and Crafts
and
Handmade Ornaments.
Please feel free to link to this page! Here is what your link will look like:
 To make this glass ball Halloween Spider Ornament, see the step-by-step tutorial and photos on the How To Arts and Crafts.com website. Just copy and paste the HTML text in the box below anywhere in your website or blog:
TOP - Halloween Spider Ornament
Ornaments Safety Tips | Arts and Crafts HOME Page | Arts and Crafts SiteMap


|